

Modifying the JSF Configuration File
Installing the JSF facet to a Web project generates the faces-config.xml file in the WebRoot/WEB-INF folder of the project. This tutorial shows you how to use the JSF Configuration editor to make changes to the configuration. You will learn how to:
- Create a navigation rule
- Create managed beans
- Add components
- Add other elements
This feature is available in MyEclipse.
1. Opening the JSF Configuration Editor
Although JSF 2.0 and higher does not require the faces-confix.xml file, you can still use it for configuration.
Double-click faces-config.xml to open the configuration editor. Tabs at the bottom of the editor allow you to enter the various configuration elements. The Source tab allows you to view or edit the xml source code.
Faces configuration editor
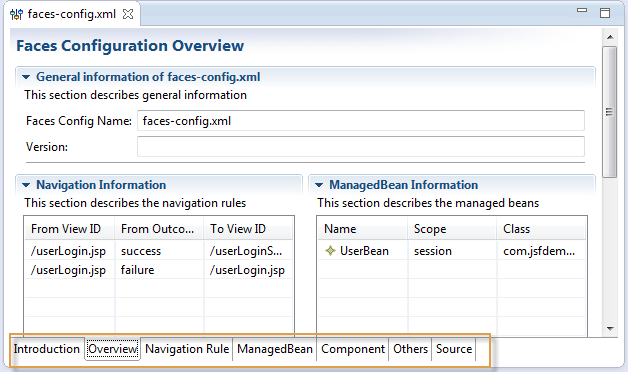
2. Viewing the Configuration Overview
The Overview page provides a summary of information entered on each tab of the editor. You can double-click any item in the overview to open it for editing. You can expand or collapse each section by clicking the section title.
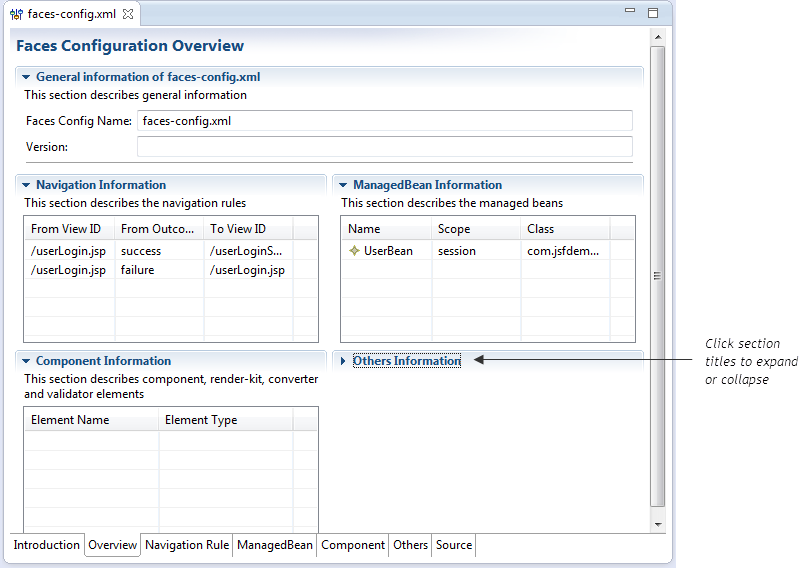
Configuration overview
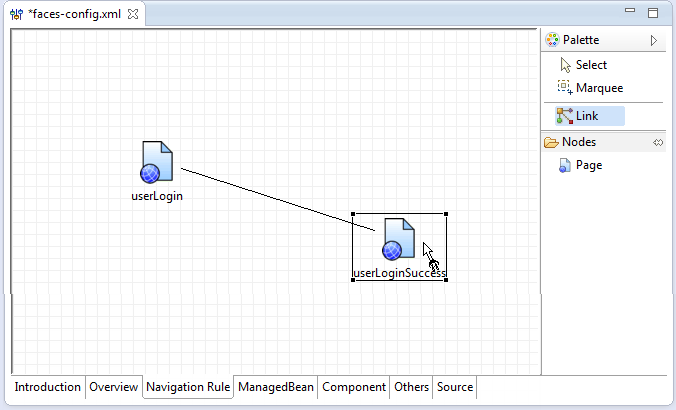
Linking web pages creates a web application navigation rule. You can create the links visually using the Navigation Rule page. The tools palette on the Navigation Rule page contains Select, Marquee, Link, and Page tools.
- Click the Navigation Rule tab.
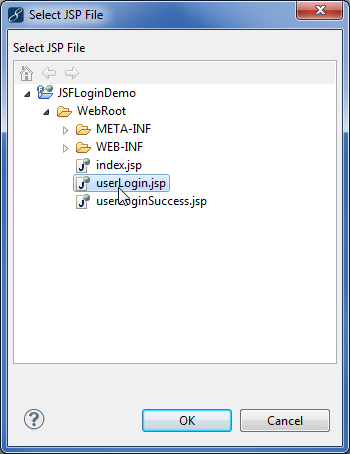
- Click the Page tool on the palette, and click the canvas. You are prompted to select a page from your project. Do this for each page you want to add to the navigation rule. Alternatively, you can select a page in the Explorer and drag it to the navigation rule canvas.
Creating a new file - To connect pages, click the Link tool in the palette, click the page you want to link, and then click the page to which you want to link.
Linking pages - Click the Select tool on the palette, and select the link. Enter link attributes in the Properties view.
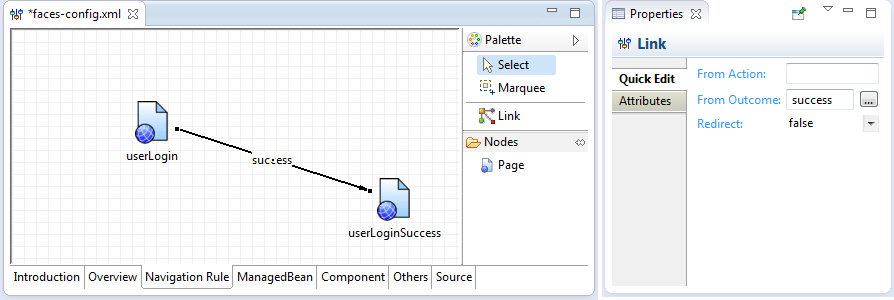
Link properties - To align icons, click the Select tool in the palette, select the icons you want to align, and use the alignment tools on the main toolbar.
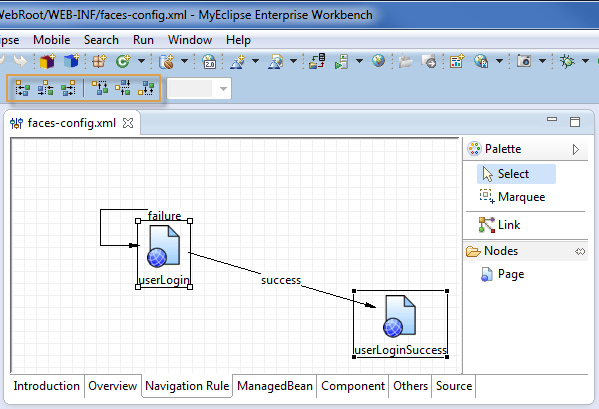
Alignment tools - To change the page view scaling, use the Scale Percentage drop-down on the main menu.

Scale percentage
4. Creating Managed Beans
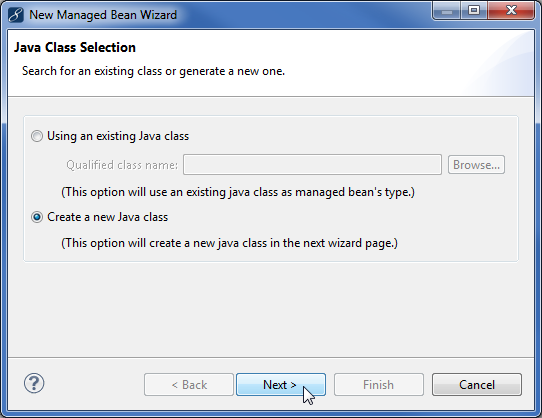
You can create a managed bean and add it to your Web application to bind bean properties and business logic to the user interface components of the Java Server Page (JSP). Using the New Managed Bean wizard, you can create a managed bean from an existing Java class or by creating a new Java class.
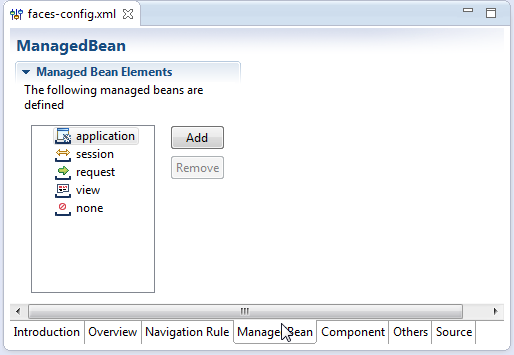
- Click the ManagedBean tab.
Launching the managed bean configuration - Choose to either use an existing class or create a new one. Continue through the wizard, following the instructions on each page.
New Managed Bean wizard - The managed bean appears in the Managed Bean Elements list.
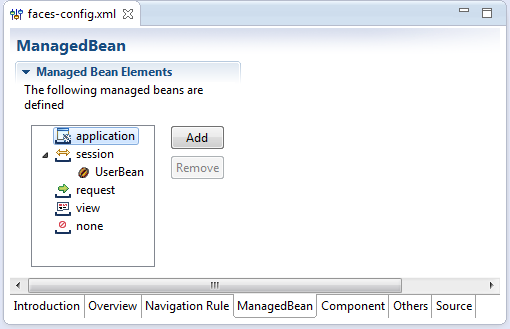
Managed bean elements list
4.1 Adding ManagedBean Properties
- Click Add in the Initialization area to add a new property.
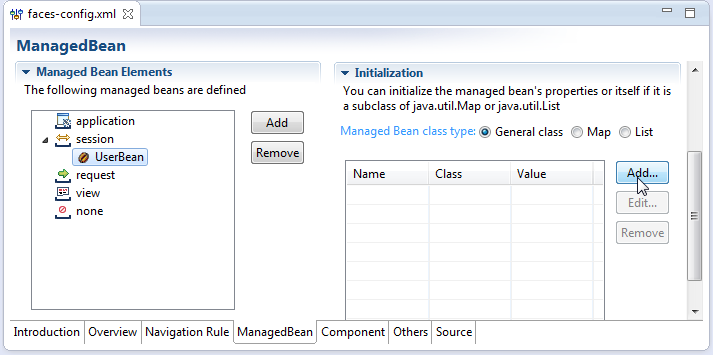
Managed bean editor - Select or type a class name in the Property class field, and select a name from the Property name drop-down. Fill in the remaining fields as needed.
Adding managed bean properties
Bean properties appear on the Managed Bean page.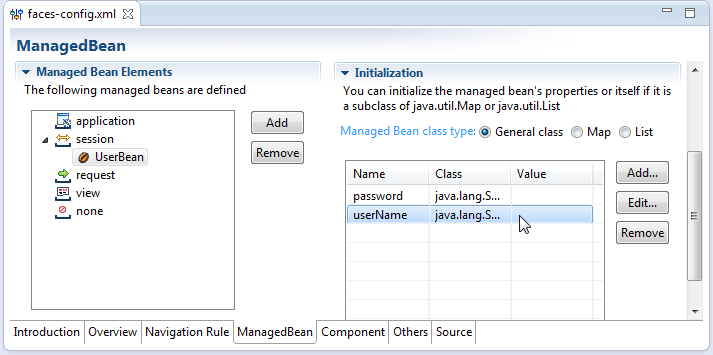
UserBean configuration
5. Adding Components
In the configuration file, you can register a component and its associated classes. Generally, a JSF component is composed of a set of classes, such as the component class, its render class, and so on. See the JSF specification and tutorial on java.sun.com for component development details.
- Click the Component tab, and expand the Components section.
- Click Add. A new component x is added to the list and General, Attributes, Facets, and Properties sections appear.
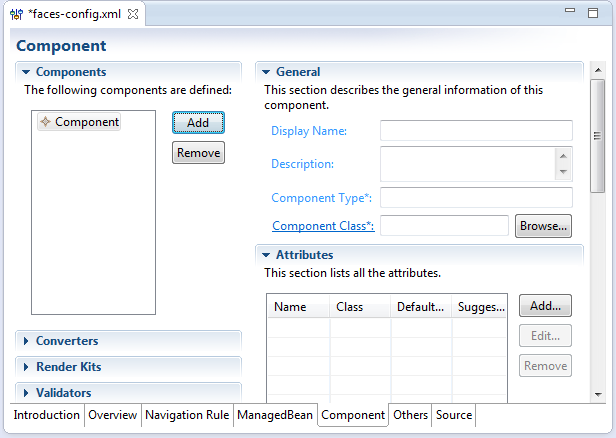
Adding a component - (Optional) Change the default name to a unique, descriptive name in the Display Name field of the General section.
- (Optional) Type a description of the component in the Description field.
- Enter a type in the Component Type field.
- Click Browse to select a component class.
- Type the first letter of the type you want to use in the Select entries field. A list of available types beginning with the letter you typed appears in the Matching types list.
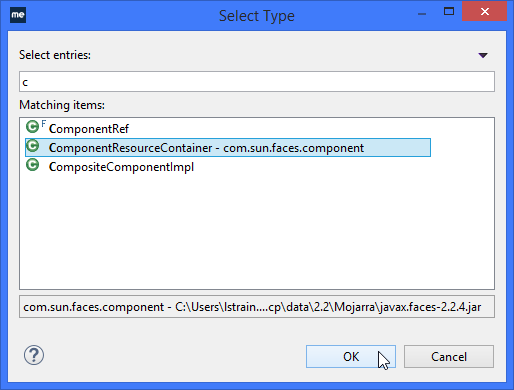
Selecting a component class - Select the type you want to use, and click OK.
- Use the Add button in each of the sections to add the respective information, if necessary.
- Press CTRL+S to save.
On the Components tab, you can add the following in the same manner described in the previous steps
Converters – A converter is used in the conversion model, and each component can be associated with server-side model object data. The component data can have two views, model and presentation, and the data can be converted between the model view and the presentation view. For example, use a converter to have the output be object to string and the input be string to object.
RenderKits – A RenderKit is a library of renderers. A render customizes the encoding and decoding for a specific client device or localized application user. A RenderKit can implement a look and feel (called a skin), target specific devices, such as a phone, PDA, or markup language, for example, WML, HTML, or SVG. In a JavaServer Page (JSP), a RenderKit is represented as a custom tag library. For detailed information on RenderKits, see the Sun JavaServer Faces Specification.
Validators – A validator defines a set of standard classes for performing common data validation checks. For example, a phone number input field must be numbers. A component can have one or more validators.
6. Adding Other Elements
On the Others tab, you can add the following elements to the configuration:
Action Listeners – The action-listener element contains the fully qualified class name of the concrete ActionListener implementation class called during the Invoke Application phase of the request processing lifecycle.
Default Render Kit ID – The render-kit element represents a concrete RenderKit implementation that should be registered under the specified render-kit-ID. If no render-kit-id is specified, the identifier of the default RenderKit (RenderKitFactory.DEFAULT_RENDER_KIT) is assumed.
Local Config – These represent the locales that you want your Web application to support.
Message Bundle – Message bundle is the base name of a resource bundle representing the message resources of the Web application. See the java.util.ResourceBundle class at http://java.sun.com for information on the syntax of resource bundle names.
Navigation Handler – The navigation-handler element contains the fully qualified class name of the concrete NavigationHandler implementation class called during the Invoke Application phase of the request processing lifecycle, if the default ActionListener, which is provided by the JavaServer Faces (JSF) implementation, is used.
Property Resolver – Define a property resolver as the default for the Web application. The property-resolver element contains the fully qualified class name of the concrete PropertyResolver implementation class used during the processing of value reference expressions.
State Manager – Define a custom state manager to use as the default for the Web application.
Variable Resolver – The variable-resolver element contains the fully qualified class name of the concrete VariableResolver implementation class used during the processing of value reference expressions.
View Handler – The view-handler element contains the fully qualified class name of the concrete ViewHandler implementation class called during the Restore View and Render Response phases of the request processing lifecycle. The faces implementation must provide a default implementation of this class.
Application Factory – The application-factory element contains the fully qualified class name of the concrete ApplicationFactory implementation class called when FactoryFinder.getFactory(APPLICATION_FACTORY) is called.
Faces Context Factory – The faces-context-factory element contains the fully qualified class name of the concrete FacesContextFactory implementation class called when FactoryFinder.getFactory(FACES_CONTEXT_FACTORY) is called.
Lifecycle Factory – The lifecycle-factory element contains the fully qualified class name of the concrete LifecycleFactory implementation class called when FactoryFinder.getFactory(LIFECYCLE_FACTORY) is called.
RenderKit Factory – The render-kit factory element contains the fully qualified class name of the concrete RenderKitFactory implementation class called when FactoryFinder.getFactory(RENDER_KIT_FACTORY) is called.
Phase Listener – The phase-listener element contains the fully qualified class name of the concrete PhaseListener implementation class registered on the Lifecycle.
7. Source Page
The Source page of the JSF Config Editor is based on the MyEclipse XML Editor, but has additional features. One additional feature is code assist for class names for the `managed-bean-class` element.
Note: In JSF 2.0 and higher, managed beans can be configured using the `@ManagedBean` annotation in the Java class, rather than in the faces-config.xml file.
Code assist for the managed-bean-class element
Because the JSF Config Editor is based on the MyEclipse XML Editor, it also picks up code assist, documentation, and validation for all `faces-config` elements.
Code assist for JSF 1.2 schema
Validation for `faces-config` XML elements is also available in the JSF Config Editor.
Validation for faces-config XML elements