Building the App
First of all, we will have to install Firebase in our project, for this we will need to open a terminal instance and use the npm install firebase command.
Once it is installed, we will need to import Firebase to our project, for that we need to open the main.js file and import using import firebase from 'firebase' and use firebase.initializeApp and insert inside of it the lines of code we got from the Firebase console.

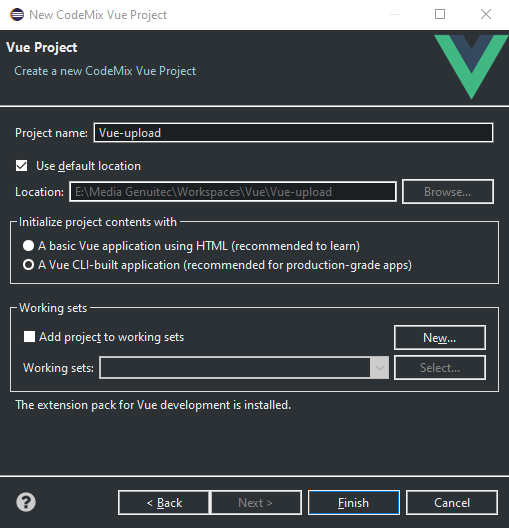
In the components folder, create a file named Upload.vue. You can do this by using the New > Vue file wizard accessible from the project’s context menu. Here we can use scaffold to insert the base code for our component.
Note: For more on CodeMix’s Vue capabilities, please read this article.
Template
Inside the template tags, we are going to use an input tag with the
file attribute to select the image file to upload, we are adding a
progress tag to show the percentage of the upload. We need to insert an
img tag to preview our file and a
button to execute the upload.
<template>
  <div>
    <div >
      <p>Upload an image to Firebase:</p>
      <input type="file" @change="previewImage" accept="image/*" >
    </div>
    <div>
      <p>Progress: {{uploadValue.toFixed()+"%"}}
      <progress id="progress" :value="uploadValue" max="100" ></progress>  </p>
    </div>
    <div v-if="imageData!=null">
        <img class="preview" :src="picture">
        <br>
      <button @click="onUpload">Upload</button>
    </div>
  </div>
</template>
As you can see we used the method previewImage when a file is selected, this method will allow us to store the data from the files array into a variable named imageData that we are going to declare inside the script tag.
On the src field we are instantiating a picture variable, which will store the actual image to display when the upload is completed with the onUpload method.
Script
Inside the
script tags, we need to import firebase and create the variables alongside the methods mentioned above.
The
onUpload method will make use of the Firebase API to store the file selected. So, we need to create a const named
storageRef that will be used to access all of the data and be used to create a Snapshot of the upload to obtain data from it, like te percentage of the upload and also the URL where the file is being stored.
Once the upload is finished, the image URL will be stored in
picture.
<script>
import firebase from 'firebase';

export default {
  name: 'Upload',
  data(){
	return{
      imageData: null,
      picture: null,
      uploadValue: 0
	}
  },
  methods:{
    previewImage(event) {
      this.uploadValue=0;
      this.picture=null;
      this.imageData = event.target.files[0];
    },

    onUpload(){
      this.picture=null;
      const storageRef=firebase.storage().ref(`${this.imageData.name}`).put(this.imageData);
      storageRef.on(`state_changed`,snapshot=>{
        this.uploadValue = (snapshot.bytesTransferred/snapshot.totalBytes)*100;
      }, error=>{console.log(error.message)},
      ()=>{this.uploadValue=100;
        storageRef.snapshot.ref.getDownloadURL().then((url)=>{
          this.picture =url;
        });
      }
      );
    }

  }
}
</script>
Style
Another thing to keep in mind, is to include inside our style the format we want to give to our components, in this case a width of 200px to the preview component.
<style scoped="">
img.preview {
    width: 200px;
}

</style>
Final Touches
Finally, the last step would be importing our Upload component to the App.vuefile like below:
<template>
   <div id="app">
      <upload></upload>
   </div>
</template>

<script>
import Upload from './components/Upload.vue'

export default {
  name: 'app',
  components: {
    Upload
  },
}
</script>

<style>
#app {
  font-family: 'Avenir', Helvetica, Arial, sans-serif;
  -webkit-font-smoothing: antialiased;
  -moz-osx-font-smoothing: grayscale;
  text-align: center;
  color: #2c3e50;
  margin-top: 60px;
}
</style>
If we have the latest CodeMix version, we can just launch our app from the Live Preview button, wait just a little while until the server is running and then upload a file into our storage in Firebase as shown in the following GIF.